How to Remove Polygel Nails?

A polygel manicure stays looking great for weeks. During that time, all you need to do is fill in next to the cuticle where the nail has grown out. But when it comes time to take off the manicure, you need to know what you’re doing. It’s best if polygels are removed by a professional to avoid damaging the natural nail. However, if you want to know how to remove polygel nails at home, here are useful tips.
Removal Process
How do you remove polygel nails? Please don’t try peeling them. You’ll need some supplies to take off this type of manicure successfully.
Here are some examples:
Kupa Mainpro Nail Drill 2.0
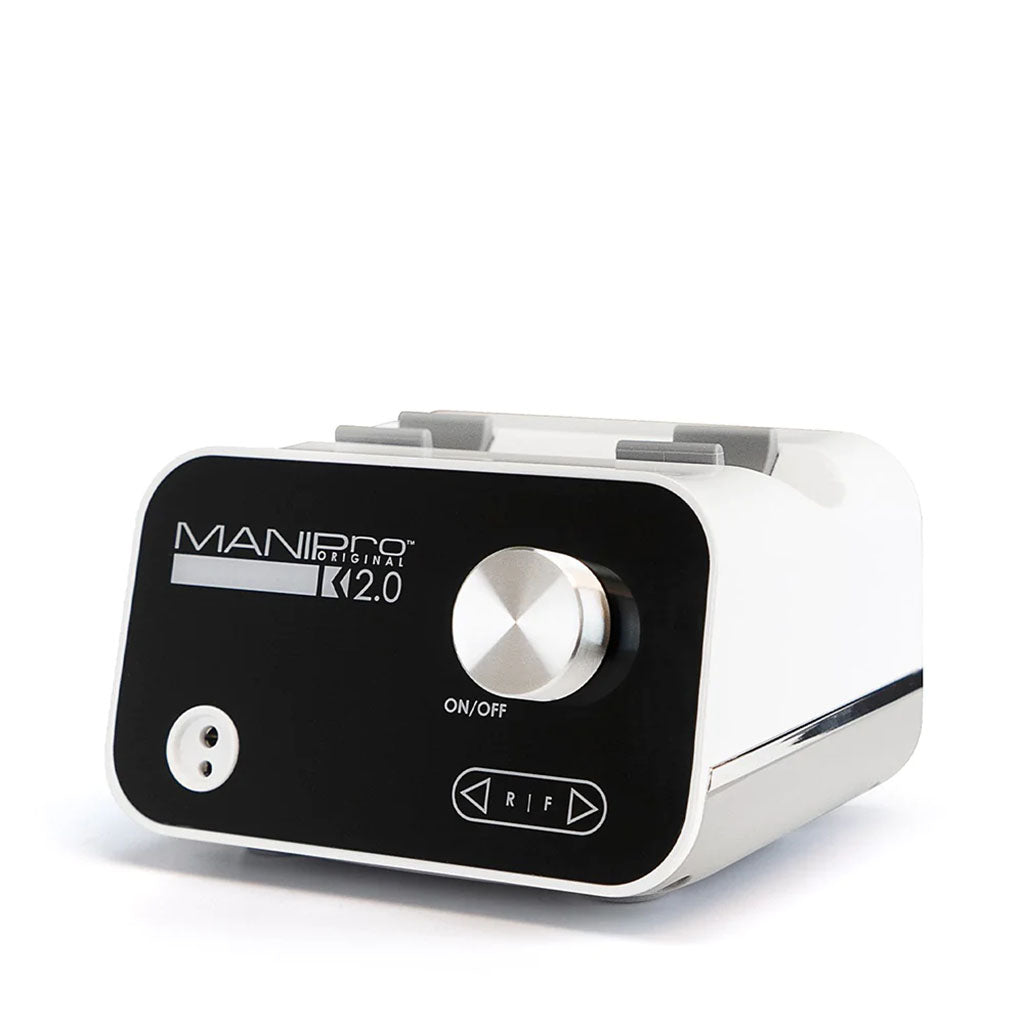
If you’ve never used a nail drill before, the best word of advice is to be patient and take your time with it. This powerful manicure tool spins up to 30,000 rpm to file down polygel and shape nails. It has a lightweight, balanced handpiece with a rubber grip that minimizes vibrations for maximum control.
Gelish Artificial Nail Remover

Gelish is the manufacturer of polygel. They also offer this solvent-based remover that works on acrylics and gels. It’s designed to finish the job rapidly and prevent dehydration of the skin around the nail.
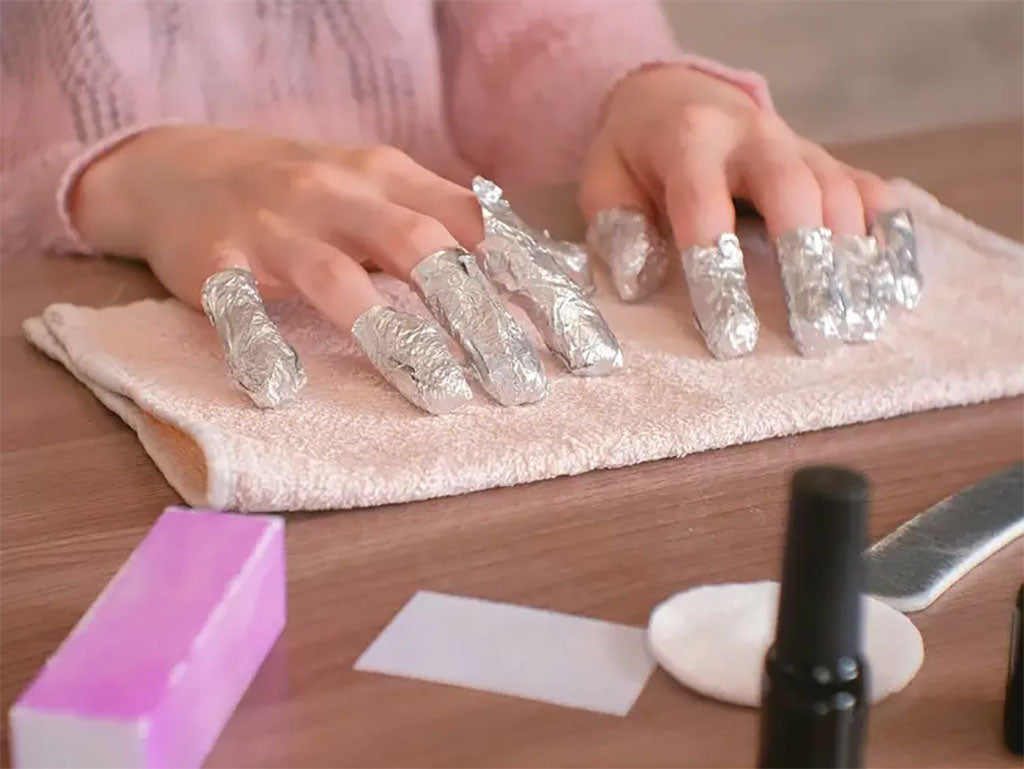
To get the most from it, you’ll need to file down the surface so that the solvent can penetrate. Then saturate a cotton pad with the remover and place it on the nail. Wrap the fingertip with foil and wait about 15 minutes before removing the manicure.
Steps for Removing Polygel Nails
Once you’ve filed down the top coat, soak the nails in acetone just like you would for any other gel manicure.
Be cautious if you use an electric nail file because it may cut through the layers and damage the natural nail bed before you realize it.
Please don’t try to tear or peel off the polygel. You could end up ripping off the natural nail.
In short, here’s how to remove the polygel manicure:
- File the surface so that the solvent can penetrate.
- Place an acetone-soaked pad on each nail.
- Wrap the nails in aluminum foil.
- Wait 15 minutes to break down the polygel.
- Scrape off the product using a cuticle pusher.
- If the product is still too hard to remove, soak for another 5 minutes and try again.
The downside of a poly gel manicure is that it’s difficult to remove at home. The aggressive filing and amount of time spent soaking in acetone might result in weak, dry, and brittle nails.
If you have an accident with the nail drill or just get annoyed with hangnails, try a product like this:
Infalab Liquid Styptic Skin Protector
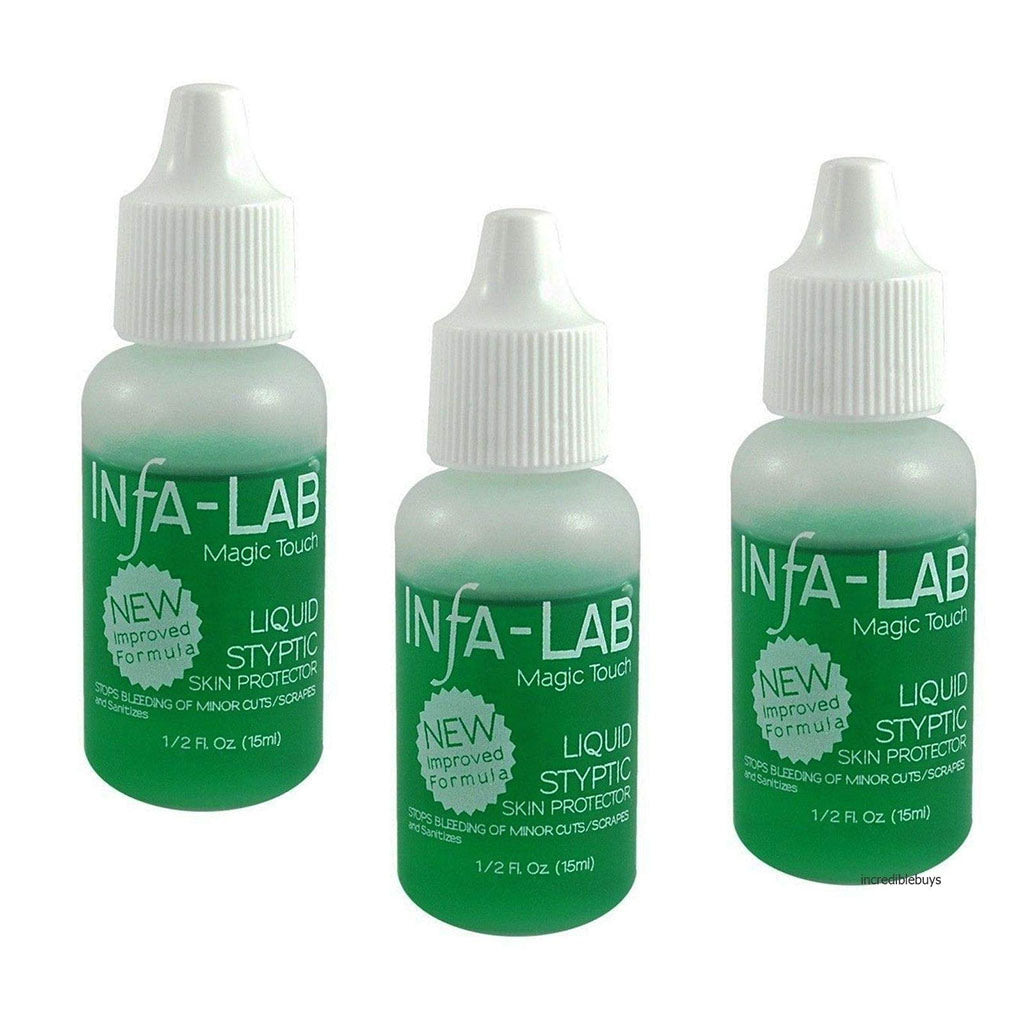
People who shave sometimes use a styptic pencil to staunch the flow of blood when they cut themselves accidentally. It’s a coagulant that stops blood flow and sanitizes the skin to prevent infection. Here it’s in a liquid form with an eyedropper. One drop takes care of the problem.
Aftercare Tips
Polygel is a popular nail product that can give people strong and long-lasting nails. However, after removal, your nails may be left feeling brittle and weak due to the removal process. Here are essential tips to help restore your nails back to their former strength and health.
First, take care of the natural nails by trimming and shaping them. Cleanse the skin and apply cuticle oil and moisturizer.
Second, make sure you are applying a generous amount of cuticle oil every day to help moisturize dryness and protect them from damage.
24k Gold Nail & Cuticle Oil - Rosemary, Peach & Jasmine
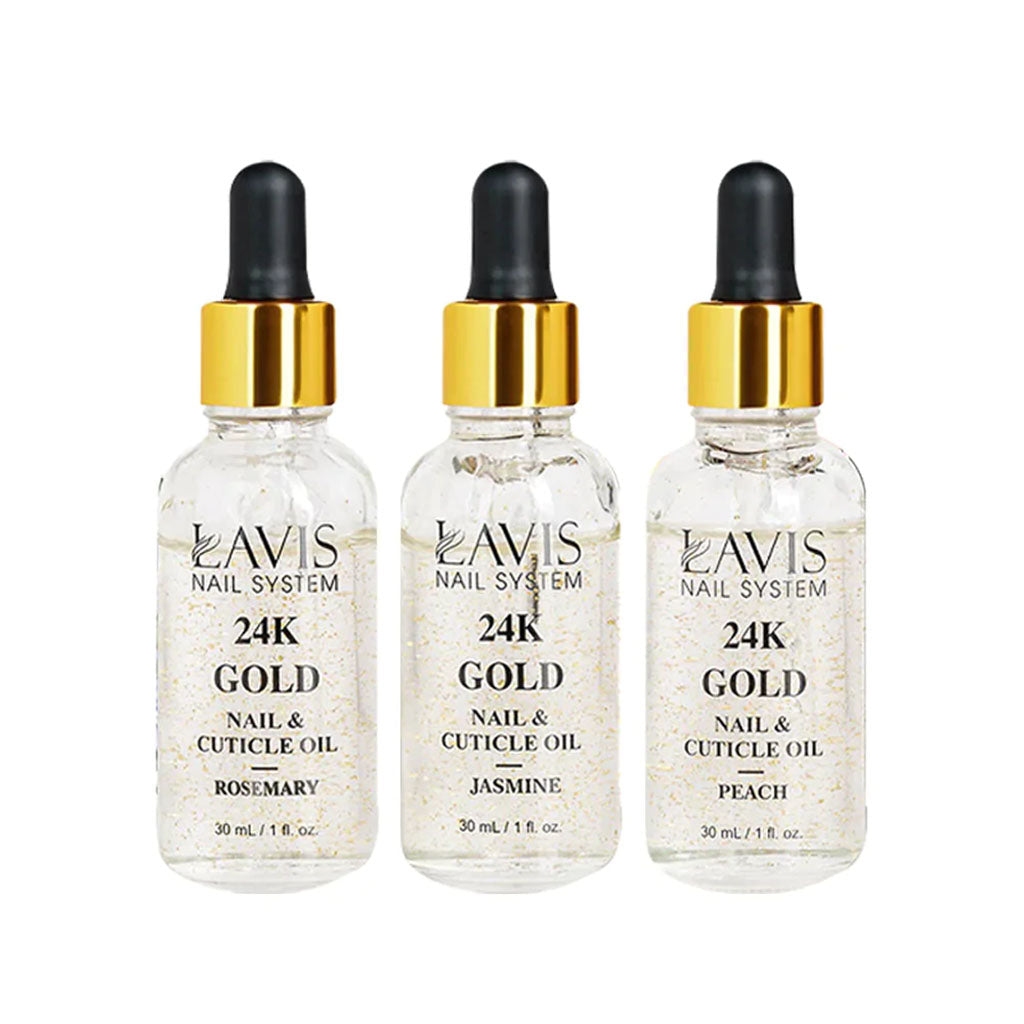
Here’s the ideal cuticle oil. It’s a nutrient-dense, all-natural oil infused with gold, essential oils, and hyaluronic acid to stimulate the skin’s recovery. It leaves the skin soft and absorbs rapidly.
Pro tip: you can prevent drying out your cuticles and the skin around your nails by coating them with cuticle oil before soaking in acetone.
Lavis - Mint - Foot Massage Lotion
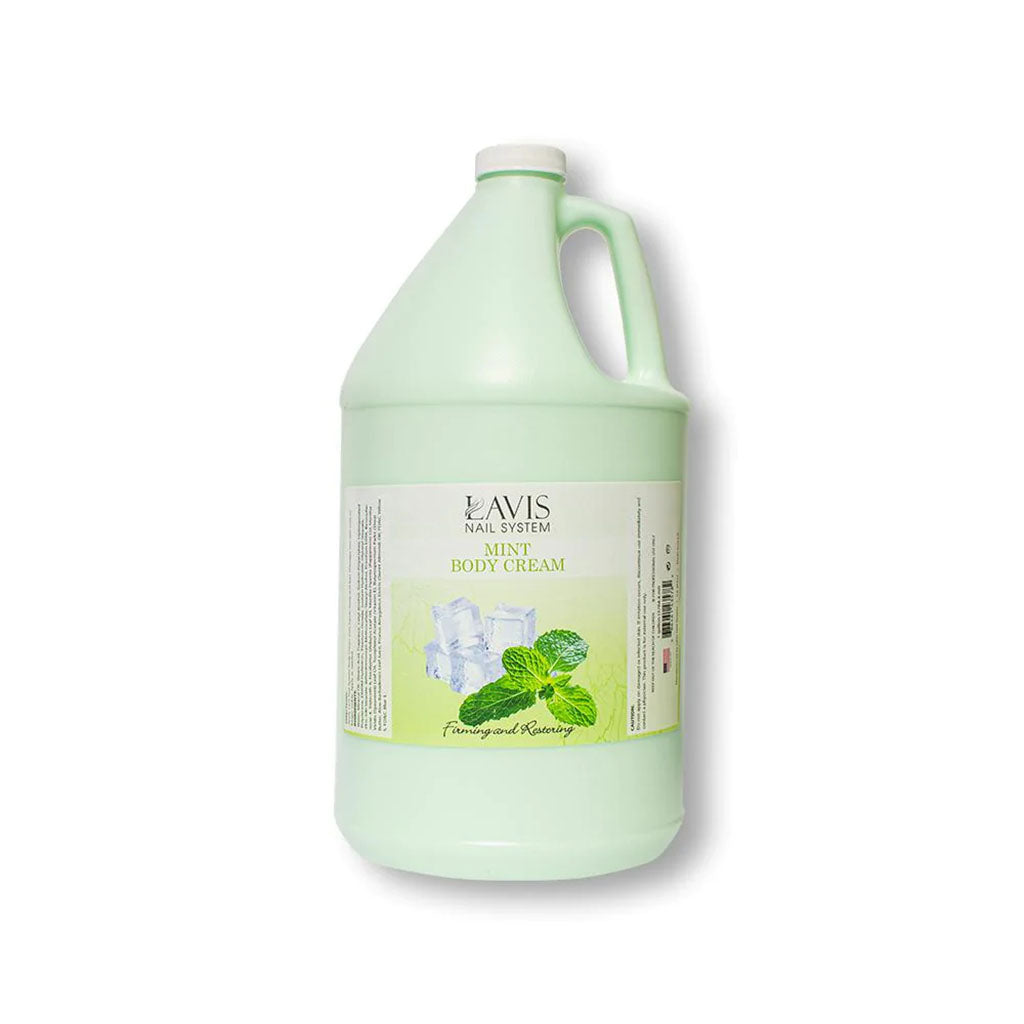
If you love the smell of mint, lavender, orange, orchid, or coffee, you’ll love this yummy lotion. It comes in six different delicious fragrances. Not only does it rehydrate dry skin, but it also helps shed dead cells. The skin is revitalized and refreshed. Furthermore, there are no harmful chemicals here.
Take Good Care of Your Nails in Between Manicures
Apply cuticle oil and cream daily to keep your skin and nails in top condition. Additionally, keep your nails trimmed short so they do not become too brittle or fragile as they grow out again.
It may seem like basic information, but not everyone knows how to file their nails properly. Always move the file in one direction instead of back and forth. Think about the motion of an electric nail file – it spins in one direction. This prevents splits and damage to the natural nail.
You may also want to use protein treatments on a weekly basis to strengthen the nail beds as well as replenish any lost moisture or vitamins needed for healthy growth.
Finally, wear gloves when doing household chores such as dishwashing or gardening; this will help reduce further dehydration from chemicals found in these products.
No Lift Nails Fung-off Antifungal
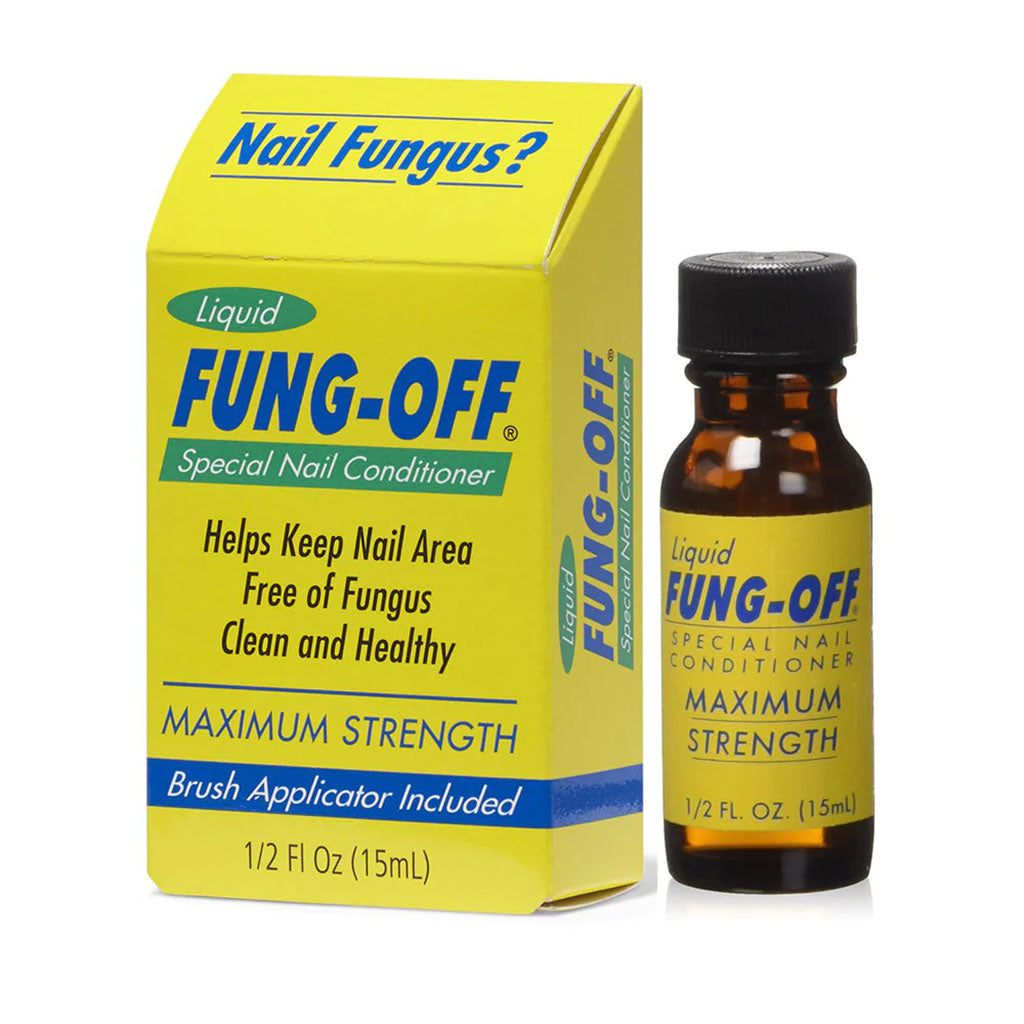
Fungal infections are unfortunately common. They are hidden by manicures that stay on for weeks at a time. However, you can clear them up with twice-daily applications of antifungal medication.
This liquid uses thymol to kill fungi. It can be used on natural and acrylic nails. Even though it’s potent, it still conditions the nails. That’s because dry, damaged nails are prone to infection. Therefore, it’s essential to fortify them with vitamin E (which this product contains) and other moisturizers.
Conclusion
A polygel manicure keeps your nails looking beautiful for weeks. Then, with the right products and techniques, you can remove poly gel nails at home. The key is to be gentle and careful when removing them to avoid damaging your natural nails. If ever in doubt, consult with a professional technician for guidance. With these tips in mind, you’ll be able to confidently embark on your next DIY nail adventure.


