Geometric Nail Art Tutorial Using DND Nail Polish
Geometric nail art can be subtle and sophisticated or bold and stunning. Unlike some types of nail designs, it can be customized to suit any style, outfit, or situation. Moreover, with DND nail polish, you can create endless geometric nail art designs that are trendy and safe for your nails. DND polish is non-toxic and made without harmful chemicals, making it an excellent choice for anyone who wants to keep their nails healthy. DND nail polish is also cruelty-free, affordable, and comes in a beautiful range of colors and finishes. It’s the perfect choice for this geometric nail art tutorial.
What You’ll Need for Geometric Nail Art
There are only a few tools that you'll need to get started. These include a thin nail art brush, a dotting pen, a toothpick for precision lines, and a nail lamp if you're using gel polish. Moreover, nail tape or a nail stamp is helpful if you need more confidence in your ability to draw freehand.
If you have DND liner gel, each shade includes an ultra-thin brush in the bottle, eliminating the need for additional tools.
Geometric Nail Art Designs and How to Do Them
Now that your tools are ready, it's time to start creating your geometric nail art designs.
Choose a Design
Popular designs include chevron stripes, French criss-cross tips, checkered nails, mosaic nails, horizontal or vertical stripes, blocks, lines, triangles, and zigzags.
Select the Colors
But it’s not just the shapes that matter, but also the colors. Checkerboard nails typically feature contrasting colors like black and white, so you'd only need to choose two shades. But a mosaic design resembles stained glass and incorporates as many as eight colors. Then, there are French tips with geometric designs, and they may begin with a sheer nude base coat.
Sketch the Design First
When choosing colors for geometric nail art, it helps visualize the final result by painting with the polish on a palette or piece of paper first to see how it looks.
Prepare the Nails
Once you've chosen your design, it's time to trim, shape, and buff the nails. Push back the cuticles and apply a base coat and the base color.
Create the Geometric Design
Once the base coat or colored coat has dried or cured, it’s time to get creative. Although it’s perfectly possible to do geometric designs with a toothpick or dotting tool, it’s easier with a thin nail brush. The brush is easier to control and spreads the polish evenly. Unfortunately, toothpicks and dotting pens sometimes leave globs.
Drawing straight lines on a curved surface like a nail takes patience and practice. As we mentioned, you can sketch the design with polish on paper. If you want the experience to be more realistic, press the paper on top of the nail and paint on that.
The good news is that you don’t need to make every nail match (unless that’s your design). Manicures look lovely with only one or two accent nails with geometric designs. Even if you have trouble repeating the pattern, that’s okay if the shades are harmonious.
When everything’s done and dry, protect your hard work with a top coat and show off those nails!
Now, here are geometric nail art designs to inspire you.
Lines

They may look simple, but strategically placed lines make gorgeous geometric nail art. Parallel, intersecting, diagonal, and zigzag lines make for eye-catching highlights.
Chevrons

Let’s face it, even experienced nail artists don’t always nail it when drawing straight lines. Even if they use line art gel, results aren't guaranteed. Although chevrons look like the letter V, they are more complex than they seem.
What’s the solution? We recommend nail tape, a stencil, or a stamp to obtain straight lines. Paint on the base coat and let it dry/cure. Then apply the tape and make sure there are no bubbles. Then brush on the chevrons and remove the tape while the polish is still wet. (If you wait until the polish dries, you may pull off the design with the tape.)
If you don’t have nail striping tape, you can use other types. Just be aware that it may leave adhesive residue. Clean off the stickiness before brushing on the top coat. (If you’re using nail lacquer, it’s tricky because rubbing alcohol to remove residue will also remove the polish.) Alternatively, reduce the stickiness by pressing the tape to your skin before putting it on the nail.
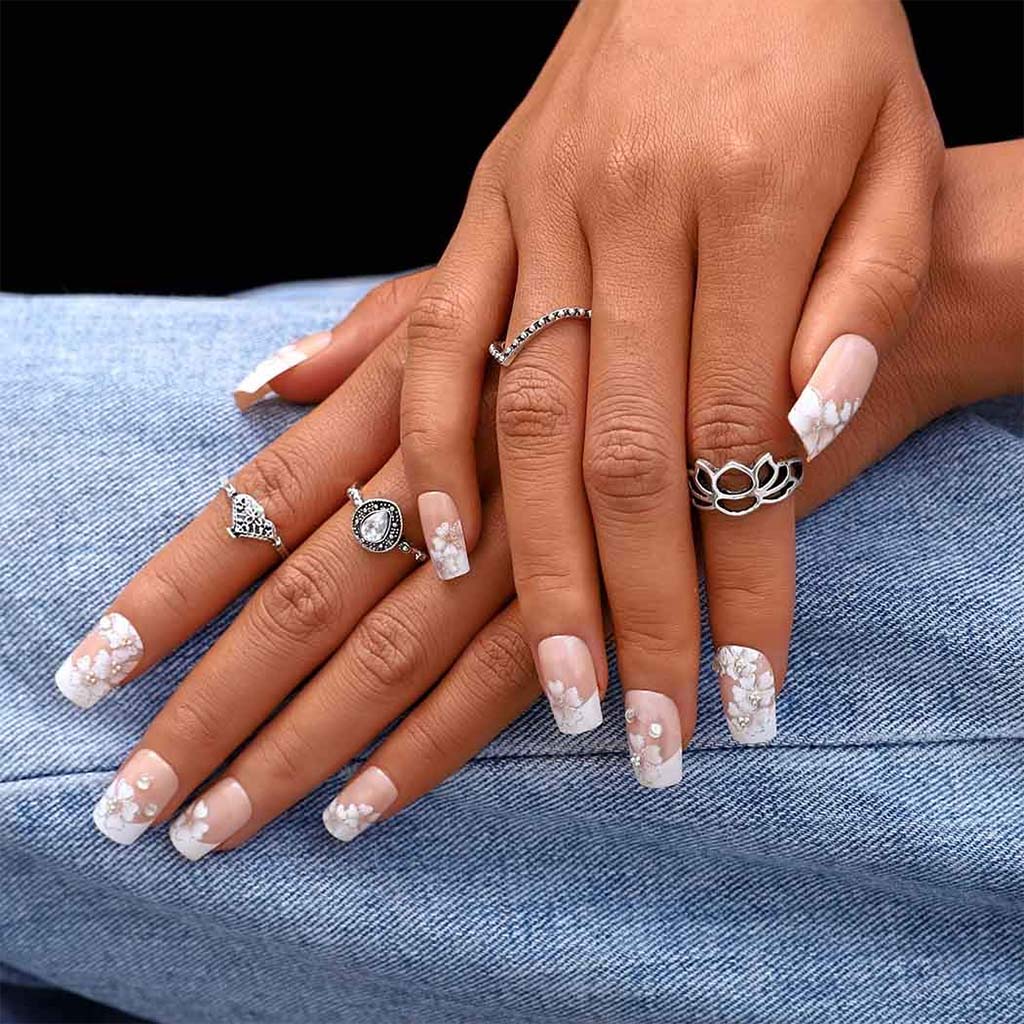
French Criss-cross Tips

Dress up a French manicure with colorful criss-cross tips. We love the pastel shades in this DND collection but feel free to experiment with any colors your heart desires, including lovely glitter shades.
Start this look by selecting three complementary shades and a nude base coat. If you need help deciding which colors to use, there are color wheels online that can help.
Apply the base, then use a thin brush to work on the tips. Should the polish start smudging, ensure each shade is dry before working on the next. A toothpick with a polish remover is handy for straightening up the lines.
Mosaic

Stained glass nails make for a dazzling nail design. We found that the DND black line art gel is perfect for creating the divisions between the panes.
This is a tricky geometric design to complete. Begin with the lightest color first. Paint that as the base. Add stripes or squares of other colors without overlapping them too much. Finish with the black polish and a top coat.
Triangles

Look closely at the triangles here. They hug the curves of the nail, so they look a little curvy as well. Choose four complementary shades and apply them from lightest to darkest.
Stripes and Blocks

With stripes or blocks, you can go horizontal or vertical. Vertical lines will make your nails look longer, and horizontal stripes will make them seem wider. Glitter also enhances this design--just look at the sparkly bands on these nails.
Zigzag

It's simplest to paint zigzag stripes with nail tape, but other options exist. We admire how dots were used to replace lines in this design.
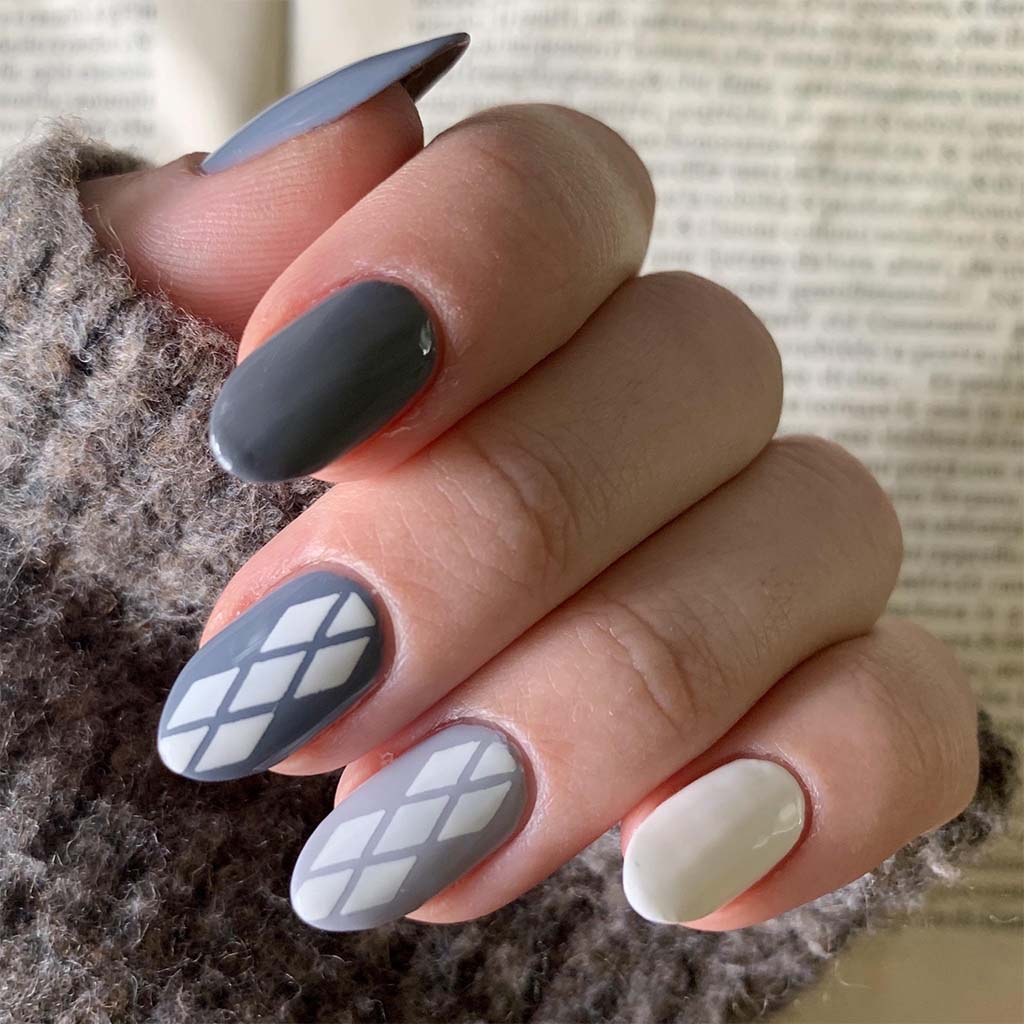
Checkered Nails

We find it easiest to do checkered nails by applying a light-colored base and brushing the darker polish on top. A nail stamp or a stencil can make it go faster.
Conclusion
The beautiful colors in the DND lineup make it fun to create geometric nail art. There are endless designs to try!
Take advantage of our deals to stock up on the best nail polish and tools and enjoy free shipping on orders over $100.